
物件データ
| 施工箇所 | 屋上防水・外壁塗装 |
| 外壁塗装 | シリコンプラン/期待耐候性年数9年~12年 |
| 付帯部塗装 | – |
| 工事期間 | 2022年4/8~5/15 |
| 担当職人 | 山新田 晃平 |
| ご依頼のきっかけ | HP |
| 工事費 | |
| その他工事 | – |
| カラー | ホワイト・アクセントに紺の2色カラー |
| 地域 | 長崎県諫早市S町 |
| 外壁塗装プラン | シリコン塗装プラン |
| 屋根塗装プラン | シリコン塗装プラン |
どうして当社を選んでくださいましたか?
担当者の対応と、見積り金額、社長の若さと情熱を感じたので山新田塗装さんに決めました。
施工後のお気持ちを教えてください!!
大変満足しています。
建物診断データ
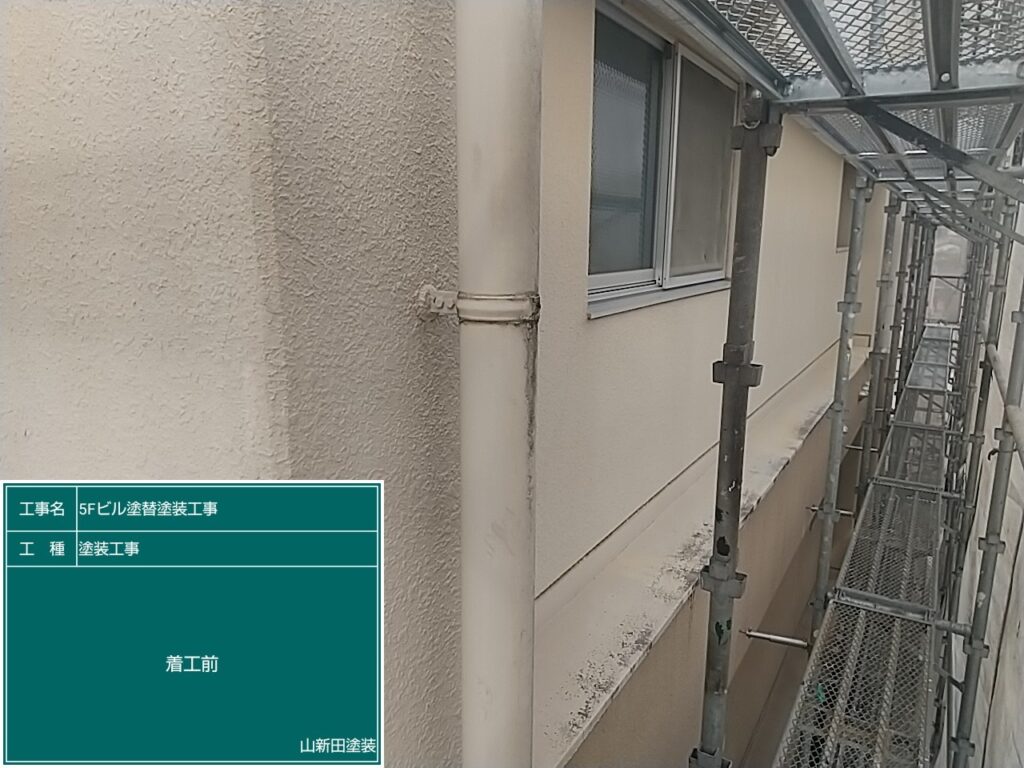
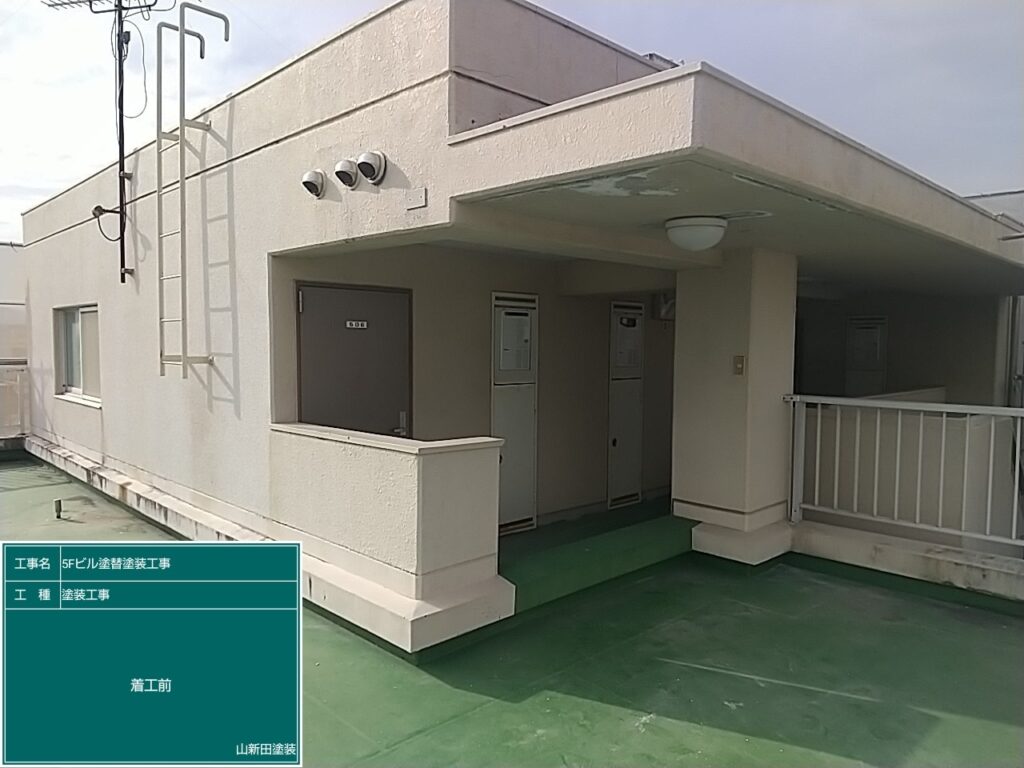
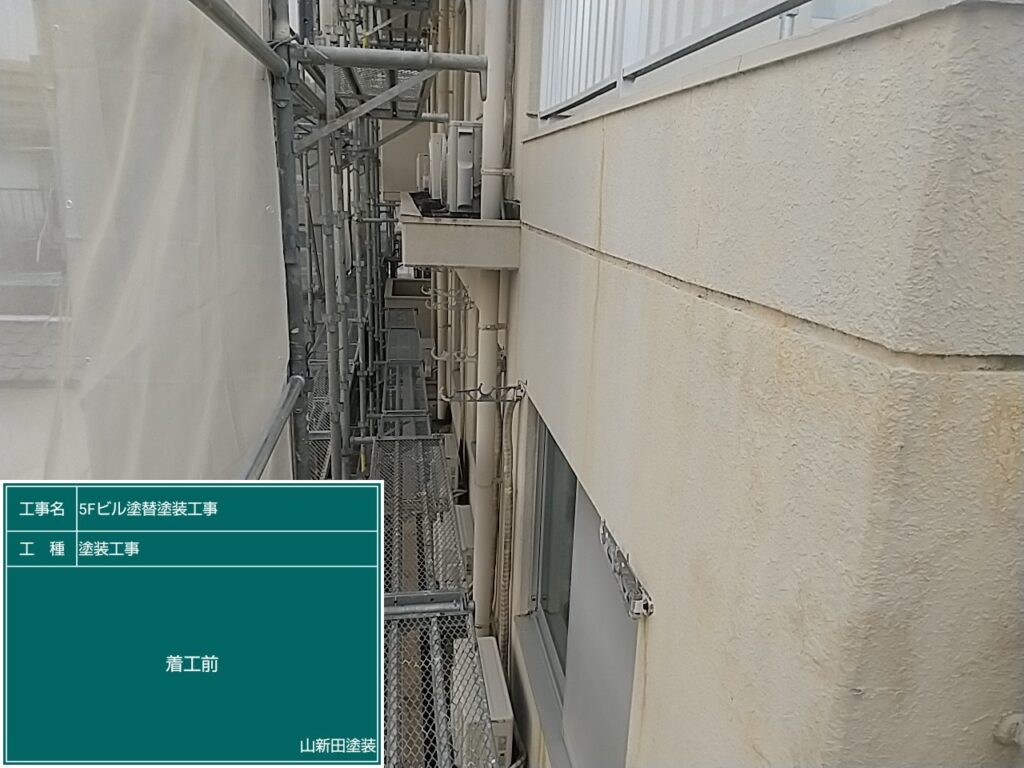
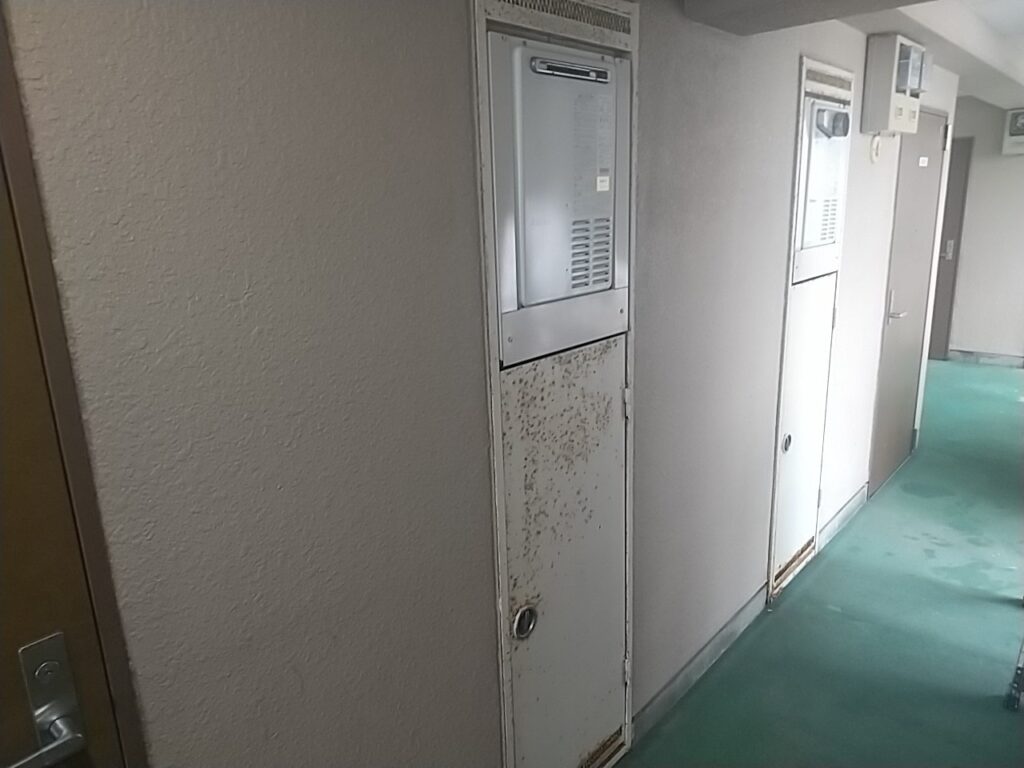
◆外壁の汚れ
塗膜が劣化していることで汚れが付着しやすくなっています。
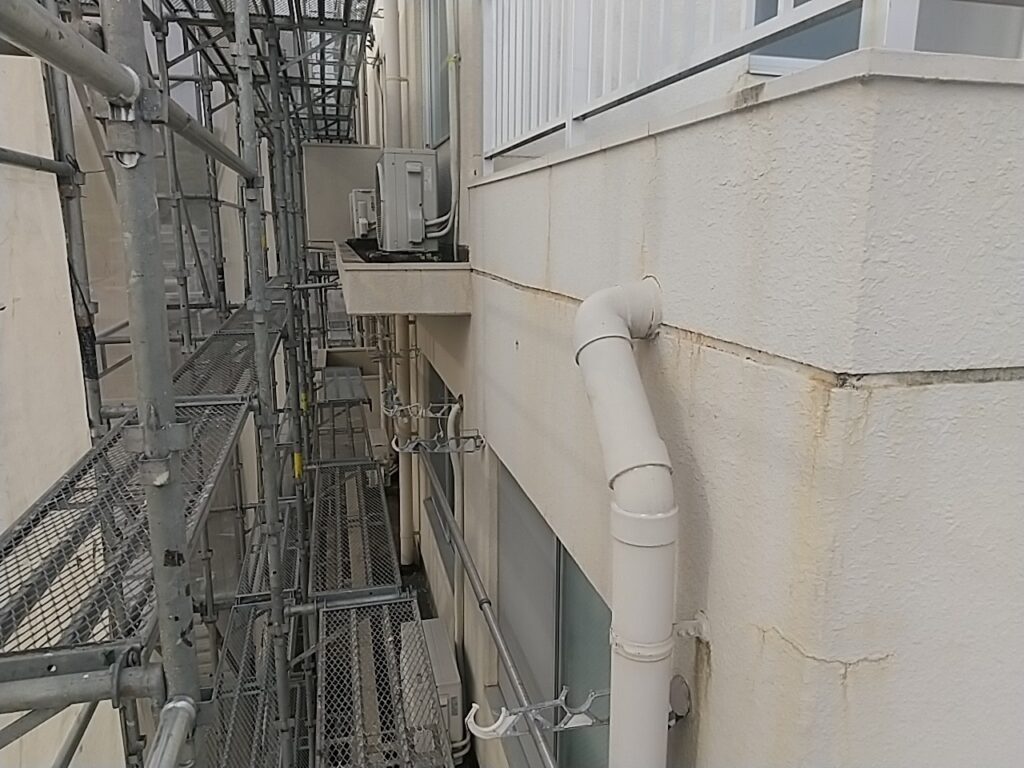
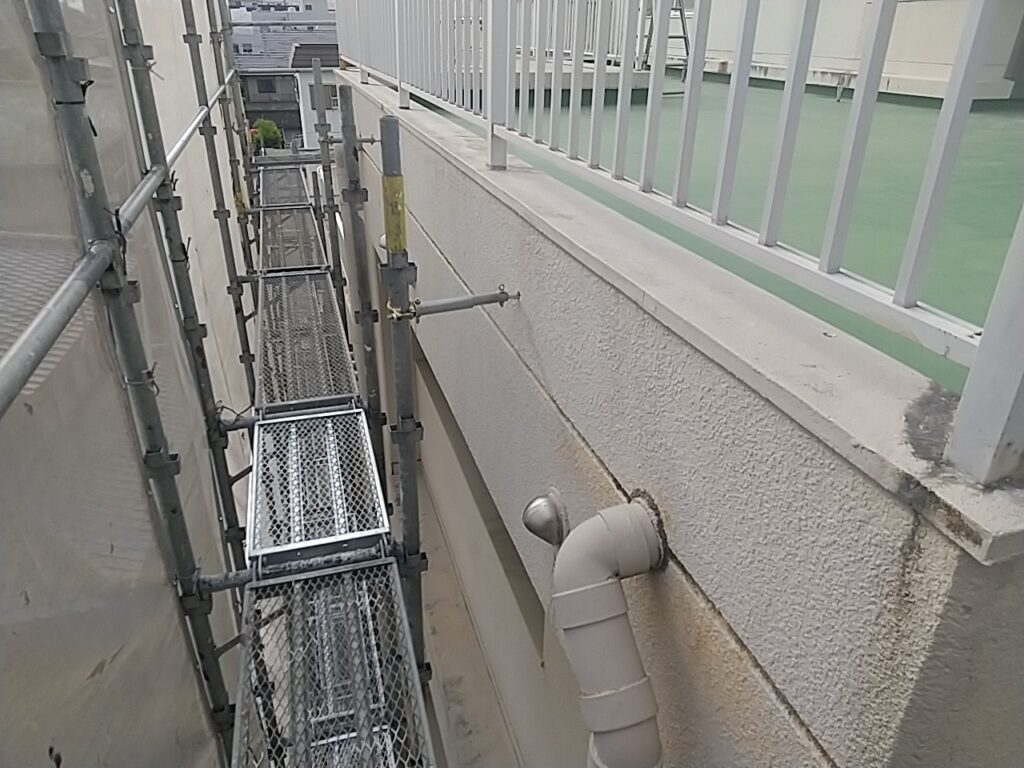
◆鉄部に錆の発生
雨風により鉄部に錆が発している状態です。
工事レポート
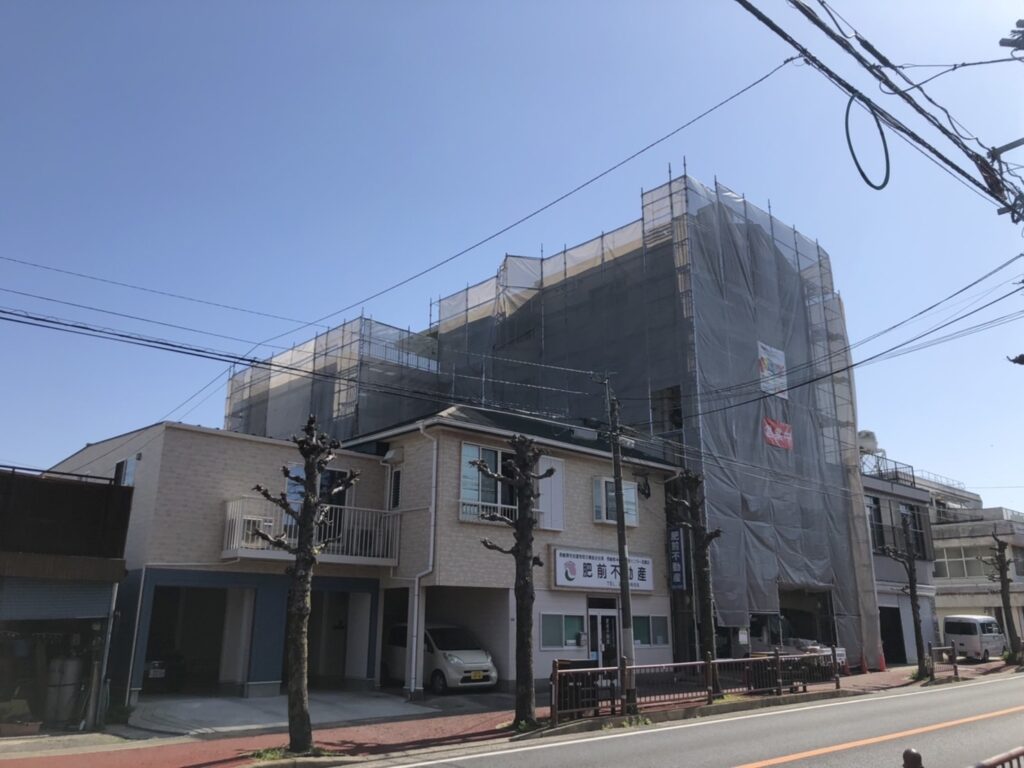
◆足場設置作業
足場設置作業を行いました。
ご近隣様への塗料飛散防止作業も行っております。
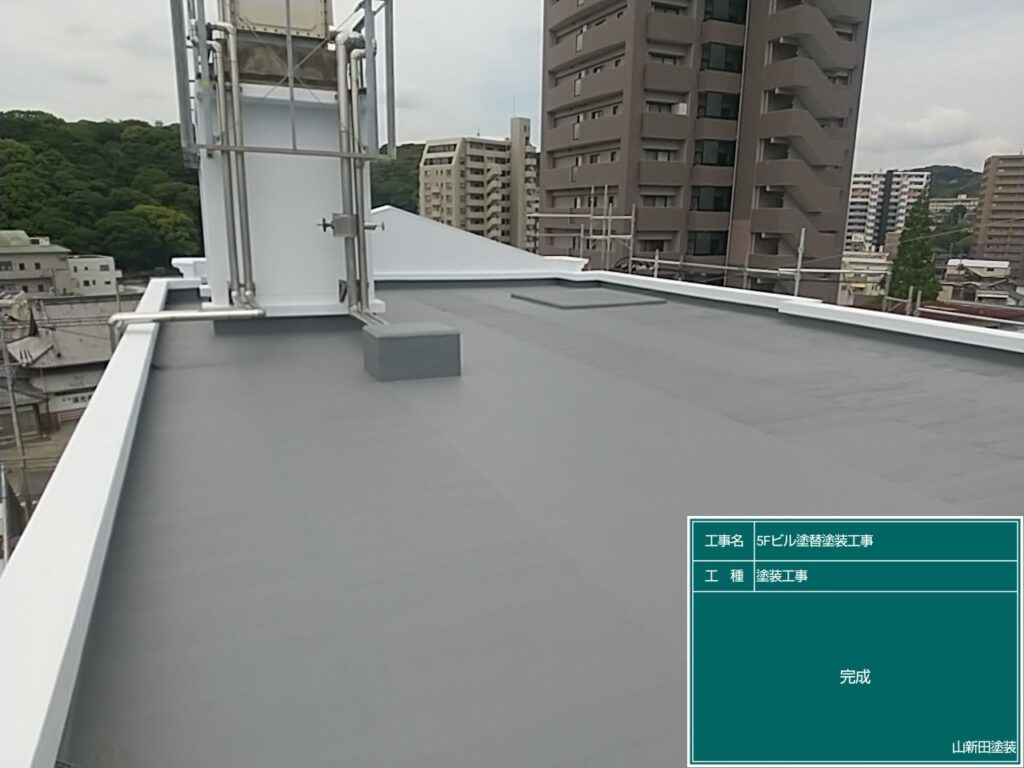
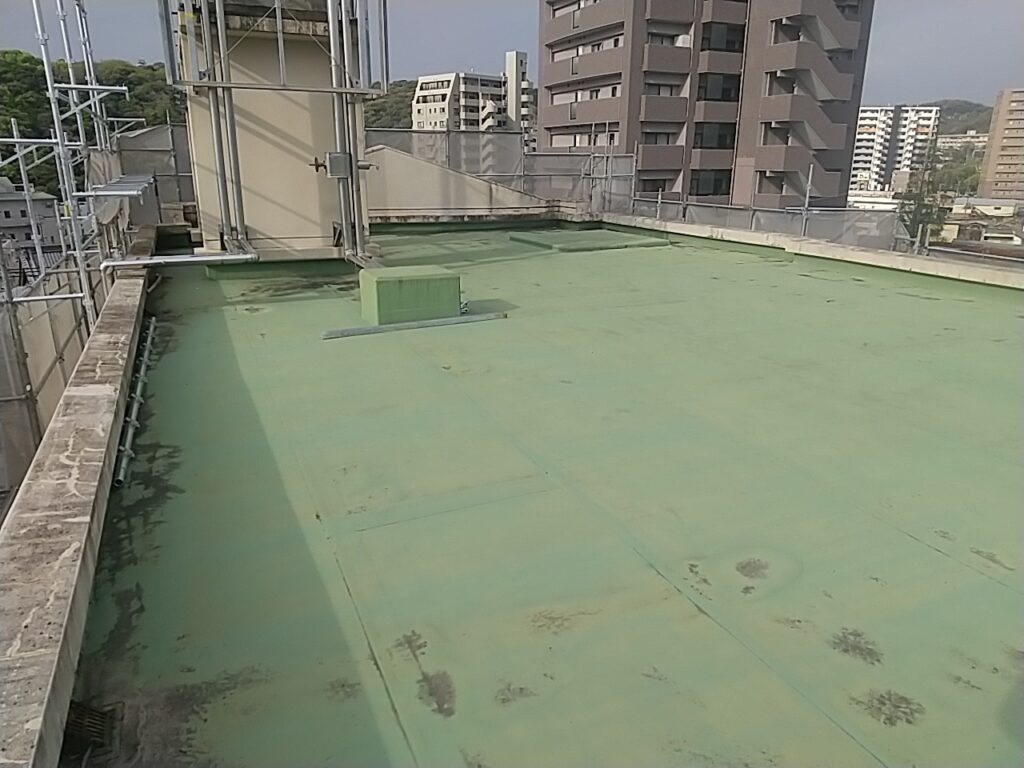
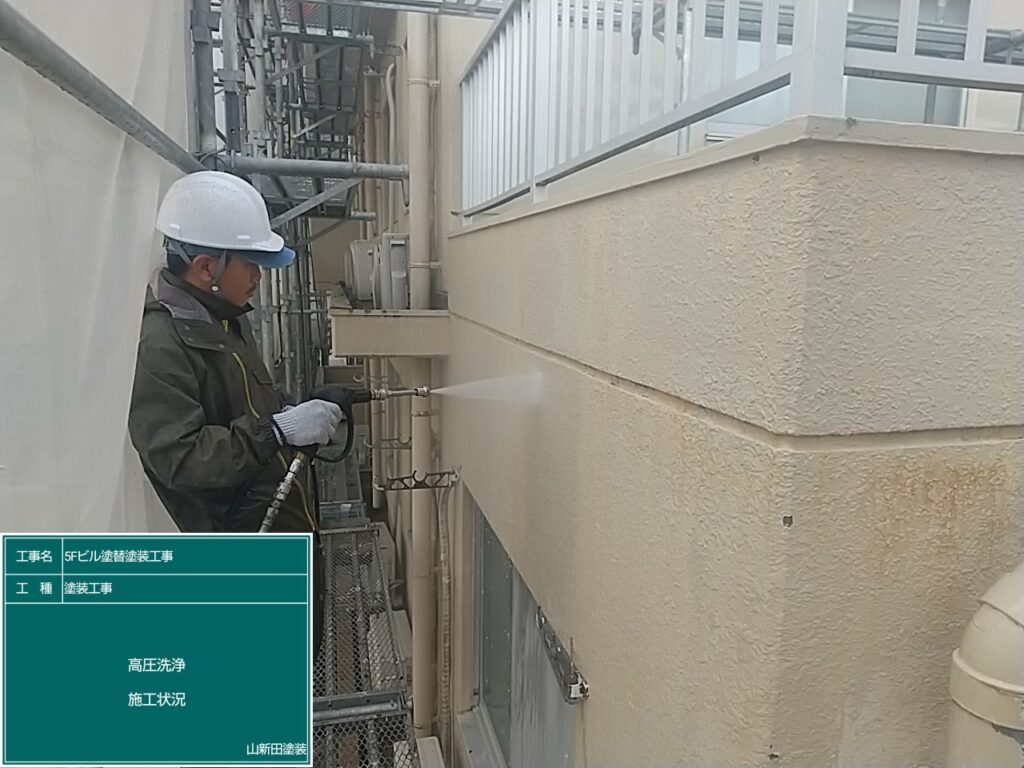
◆外壁・屋上 高圧洗浄
足場設置作業が終わり、外壁や屋上についた砂埃などの汚れをきれいに洗い流しました。


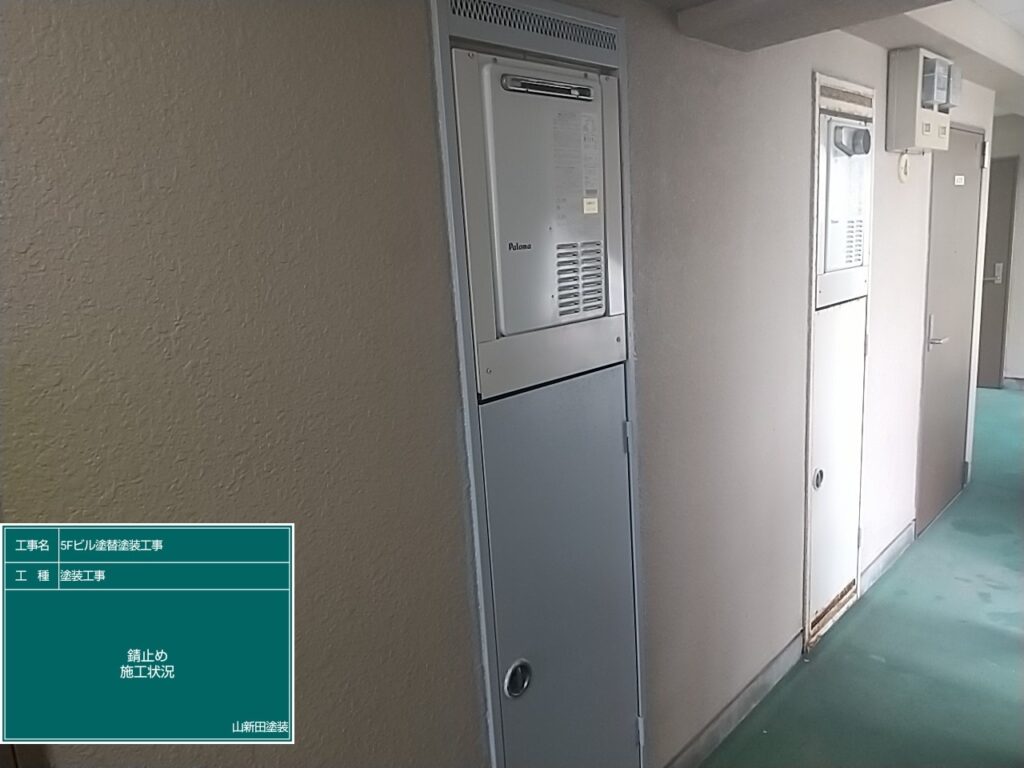
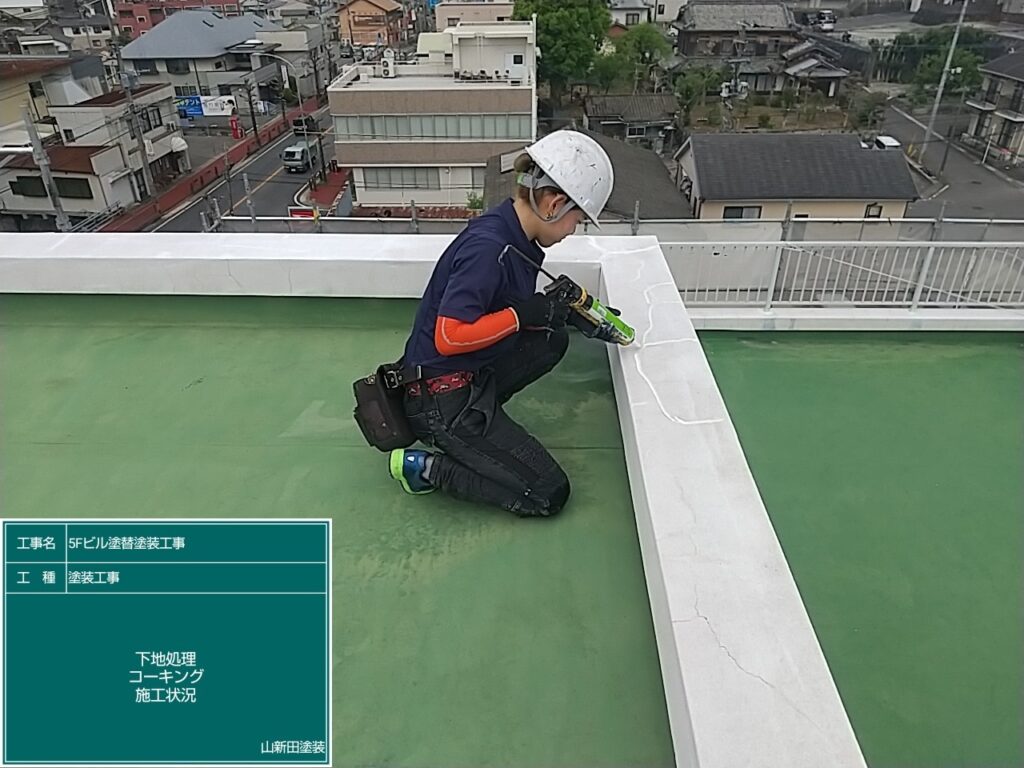
鉄部に錆止め・外壁の亀裂にコーキング補修
鉄部に錆が発生していました。ケレン作業で錆を撤去して錆の発生を抑える為に錆止め塗布しました。
建物に亀裂が発生し、雨漏りの原因になるのでコーキングで亀裂を補修しました。

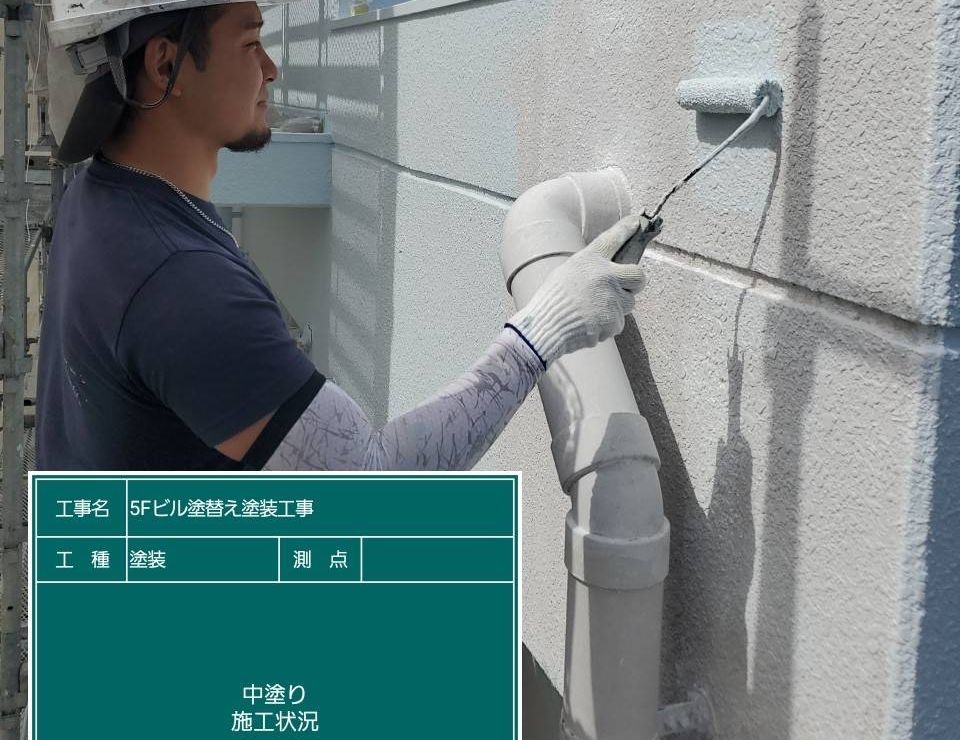
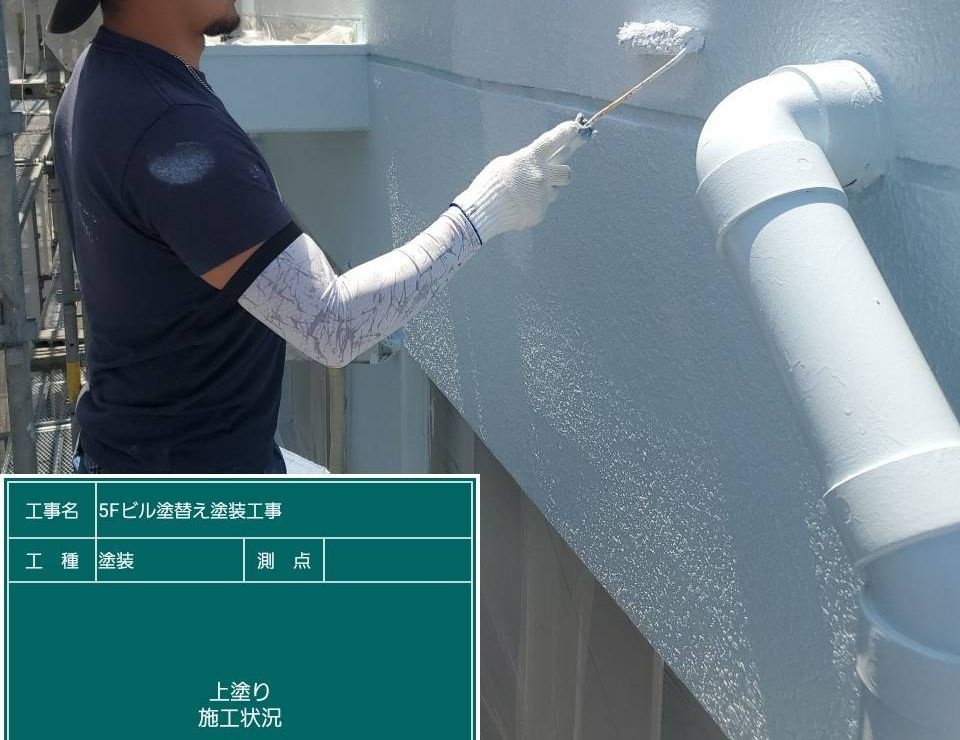
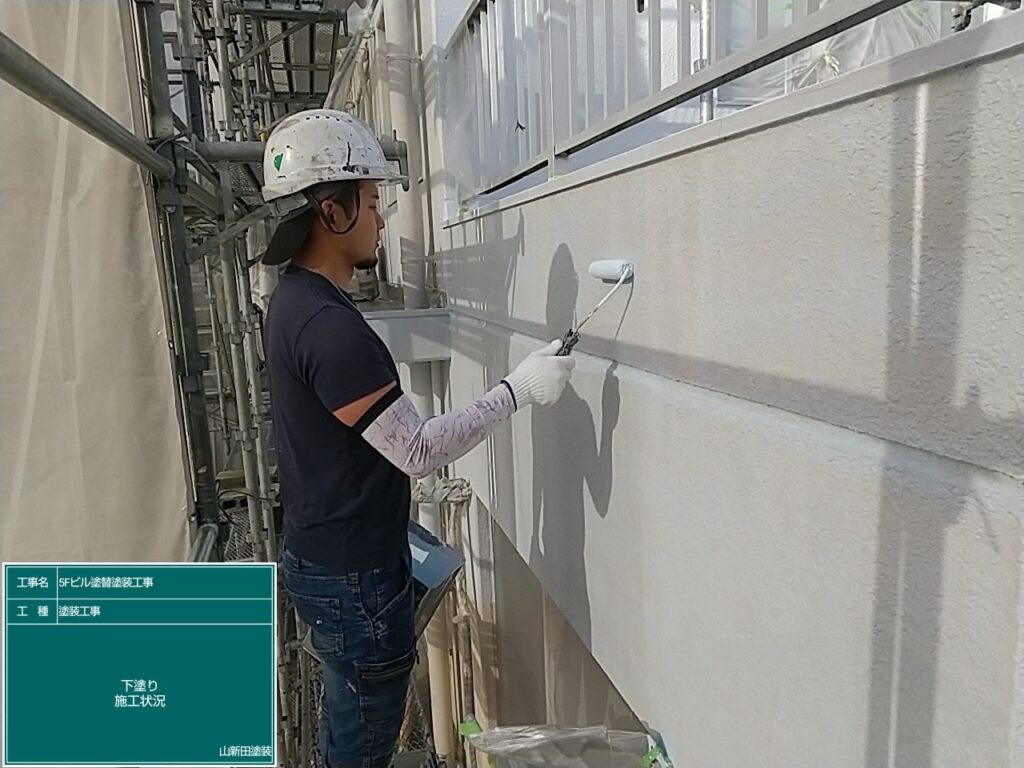
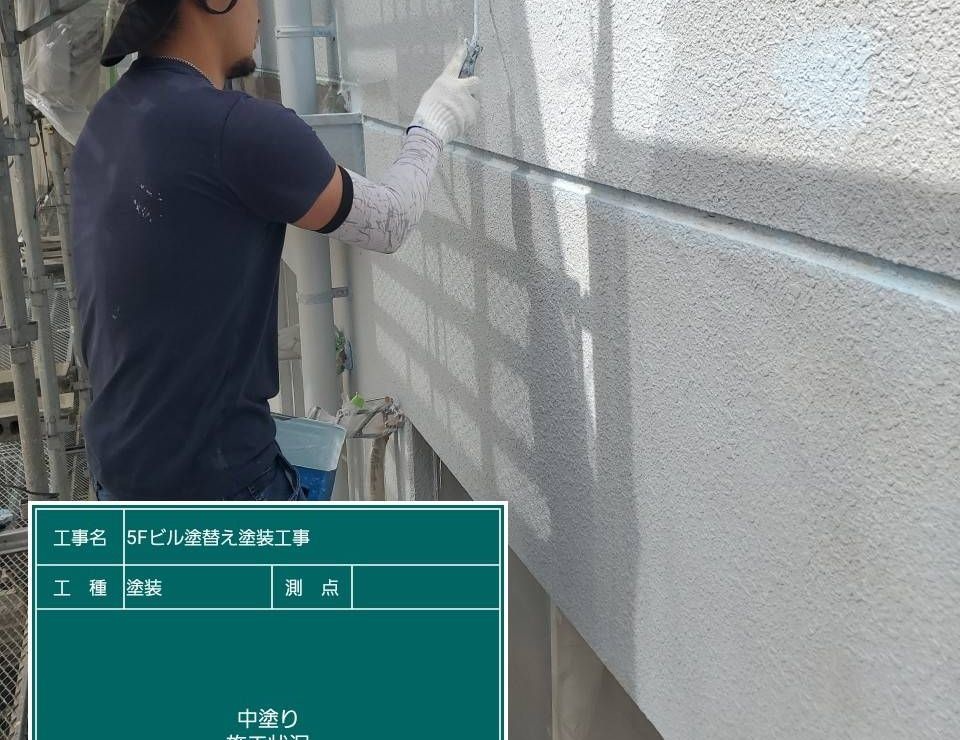
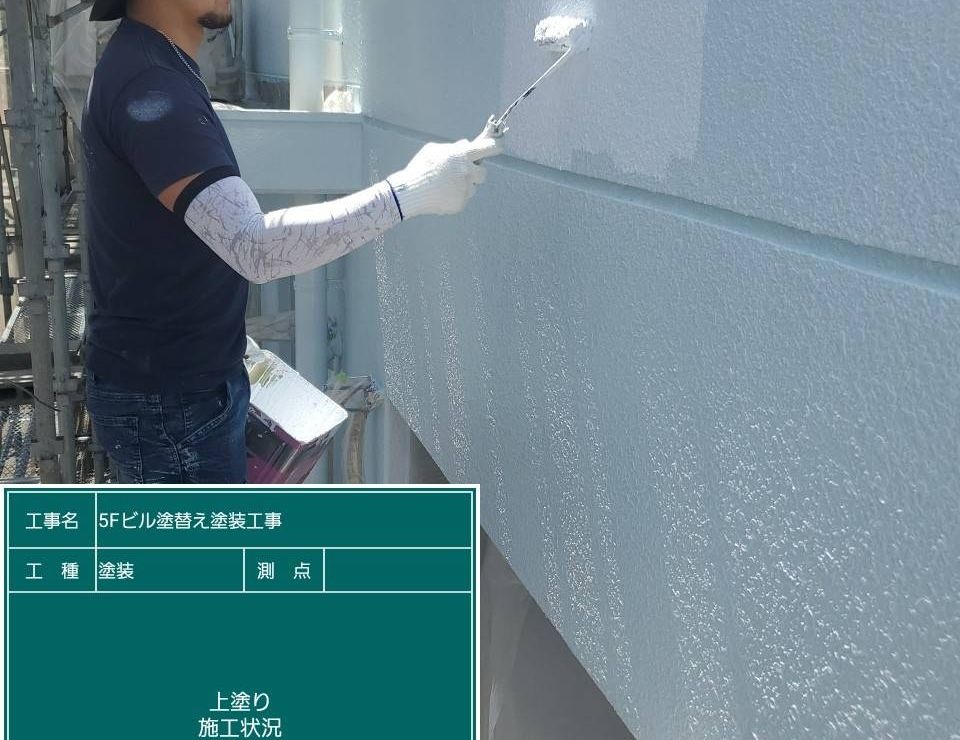
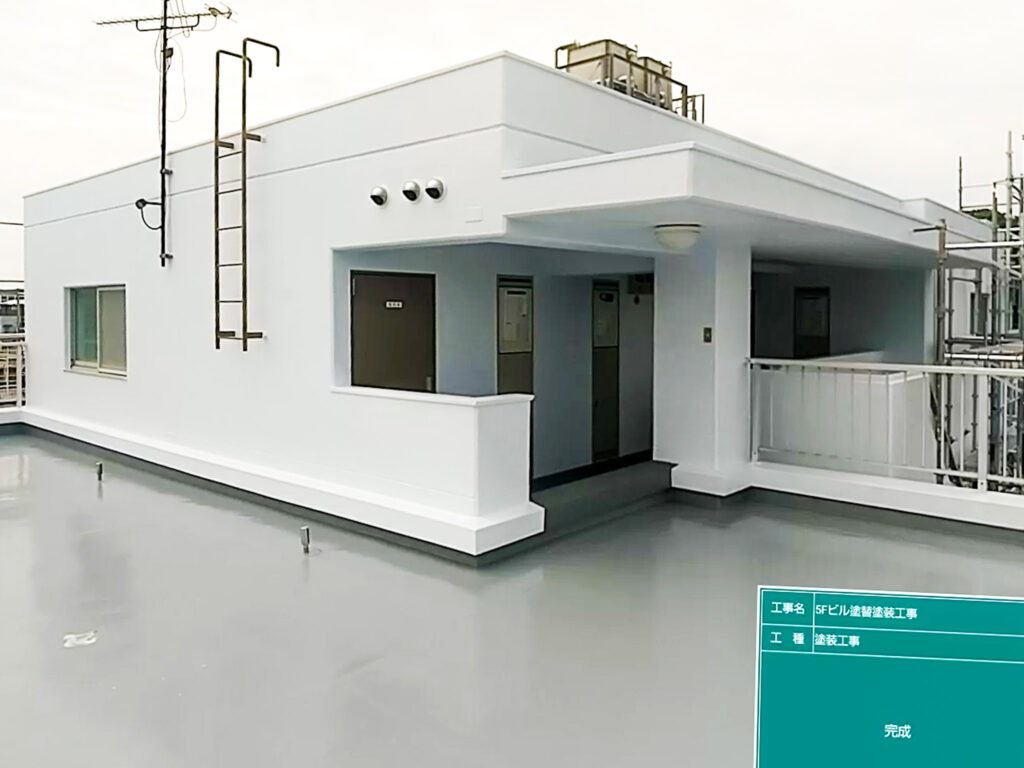
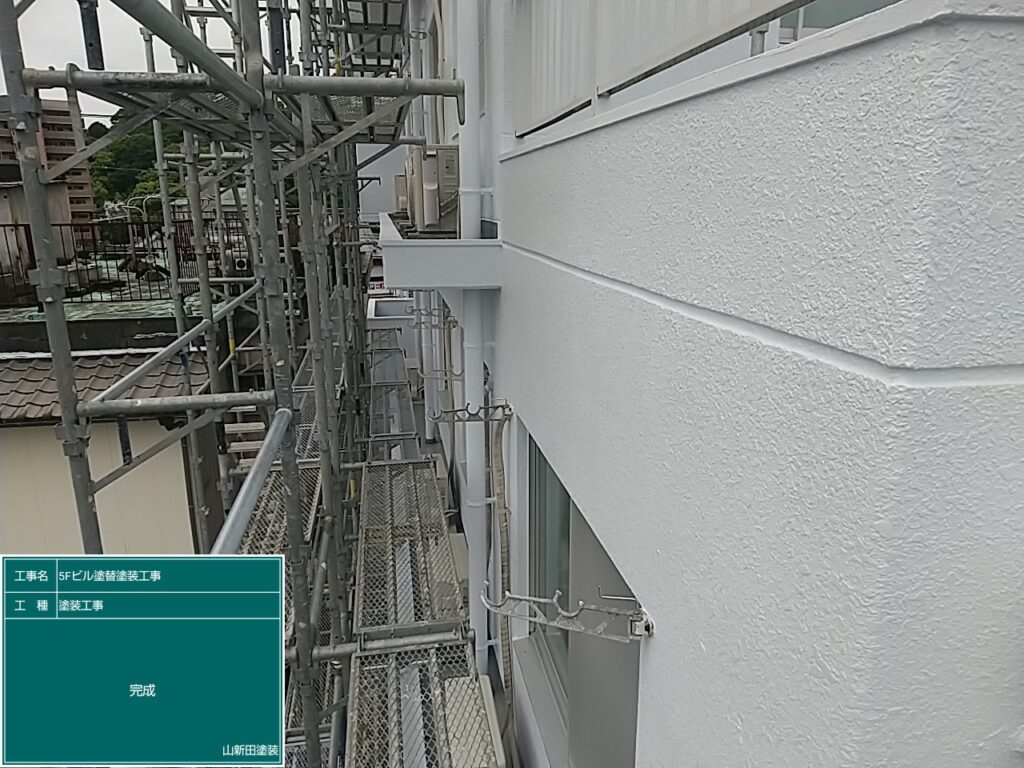
外壁 下塗り・中塗り・上塗り
◆外壁材と上塗りをしっかり密着させるために、下塗り材を塗っていきました。
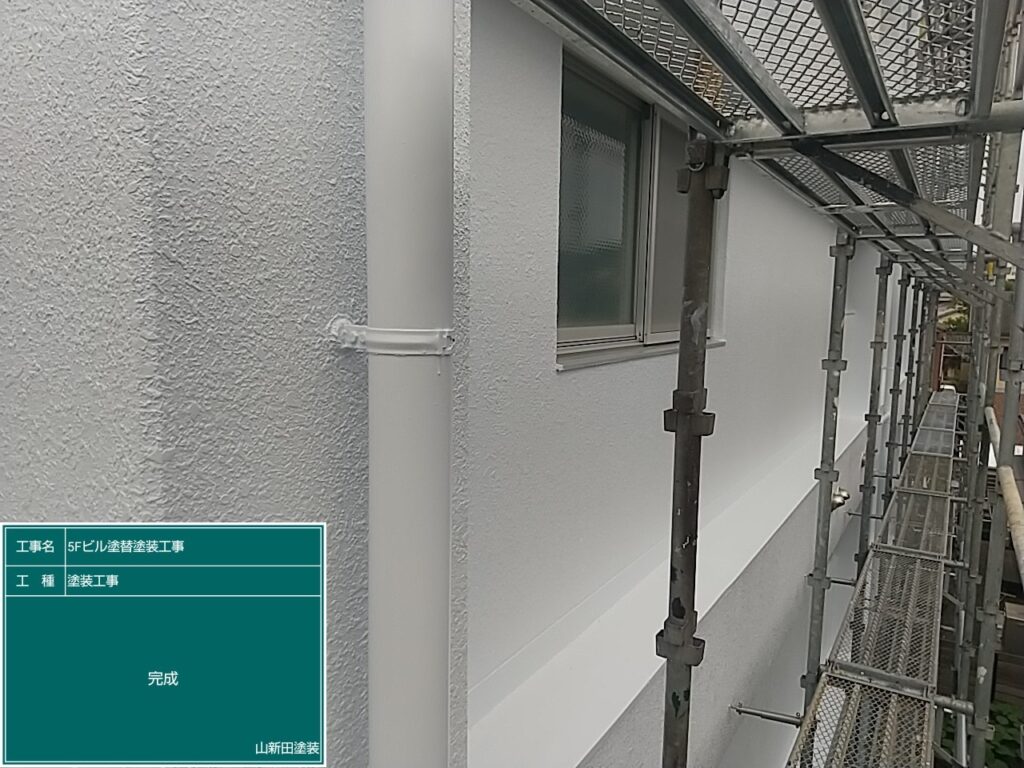
◆下塗り材を乾燥させたあと、規定の塗布量を守るため、塗料をたっぷりと使用し上塗り2回塗りを行いました。塗ムラや塗り残しがないように丁寧に仕上げました。
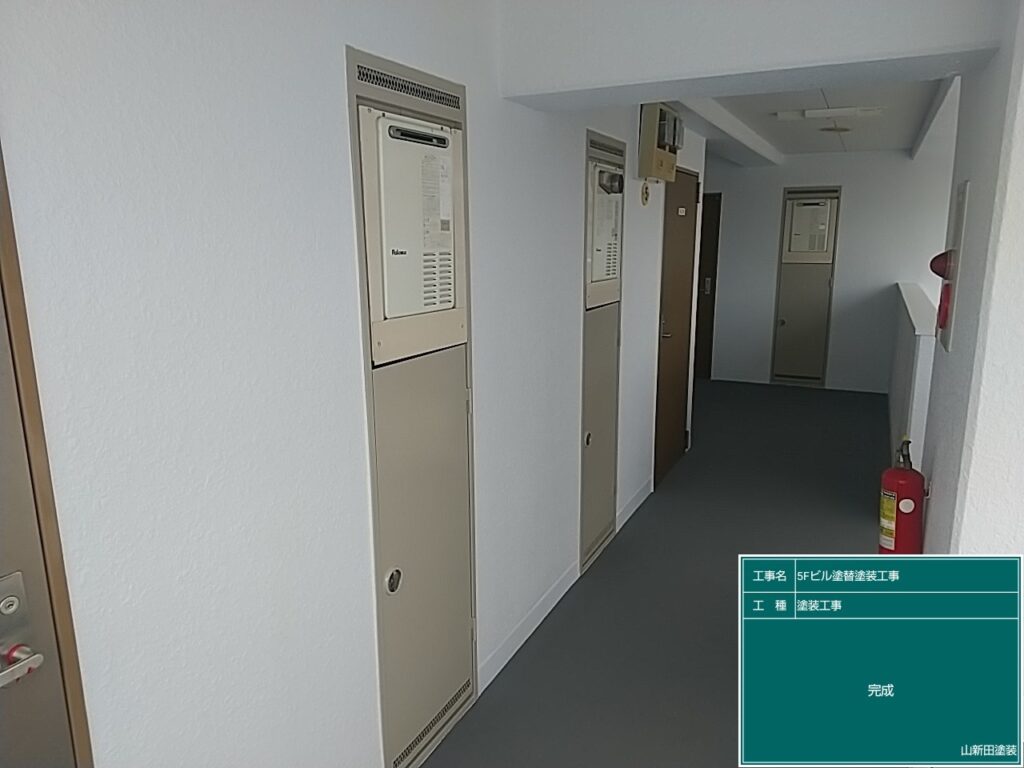
これで外壁塗装の完成です。
外壁